SVG Files
How to Add a Background Pattern to SVG Printables
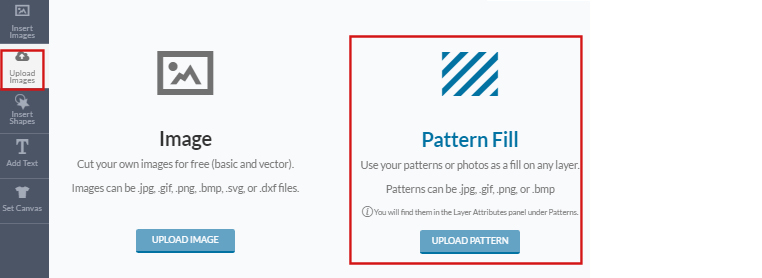
STEP 1 – Upload a Pattern Fill
Click Upload Images, then choose Pattern Fill.
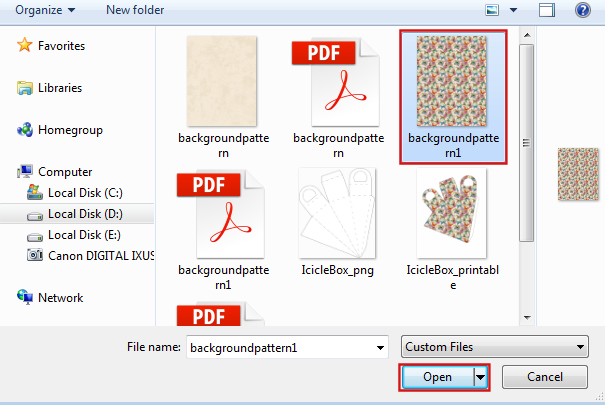
Click Browse, upload a pattern from your computer, then click Open and Save.
You will find the pattern later inside the Layer Attributes Panel.
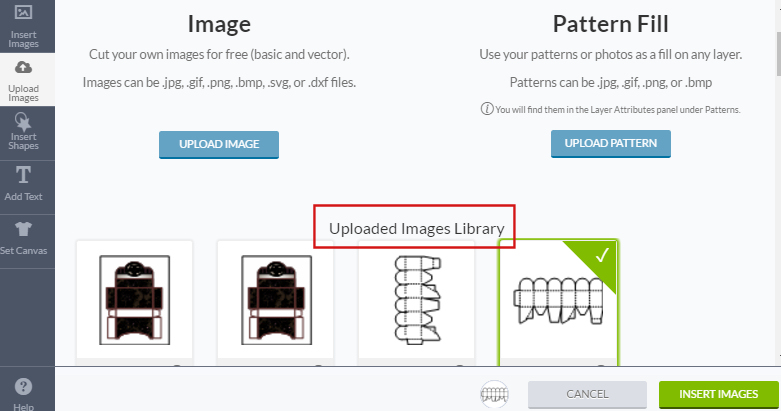
STEP 2 – Insert Your SVG Printable
Open a printable you previously uploaded in the Image Library.
Click Upload Images, scroll down to find your file, select it, and click Insert.
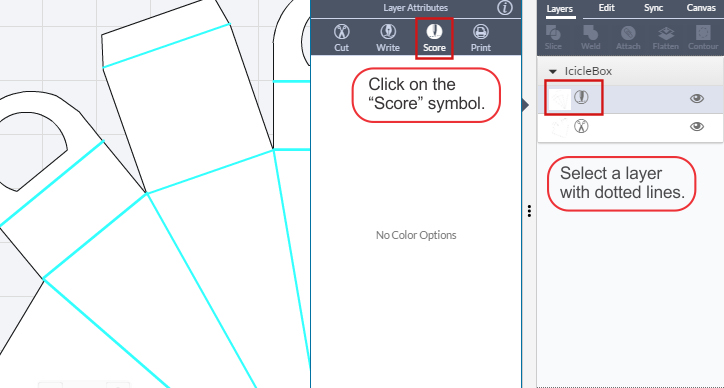
STEP 3 – Set Score Lines
In the Layer Attributes Panel, select the layer with score lines.
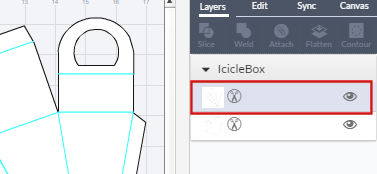
Click the small Scissors icon. Then choose the Score symbol.
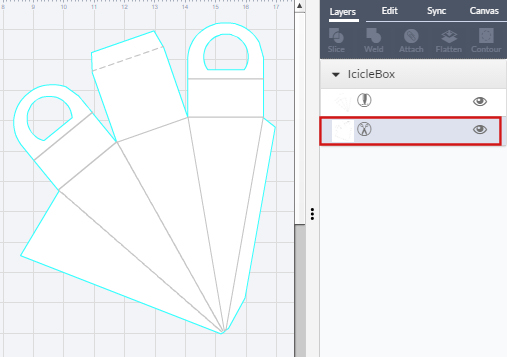
STEP 4 – Apply the Background Pattern
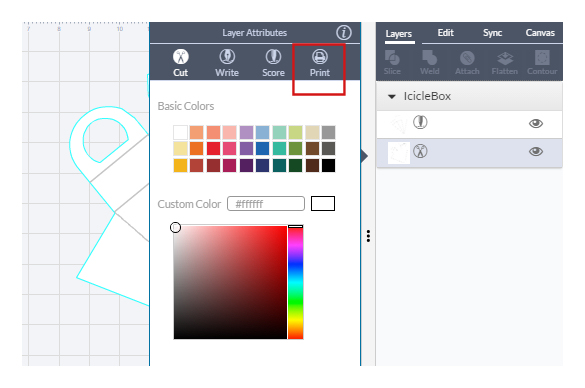
Select the layer you want to fill with a background pattern.
Click the Print circle icon.
Go to Patterns → Filter → My Patterns and choose your uploaded pattern.
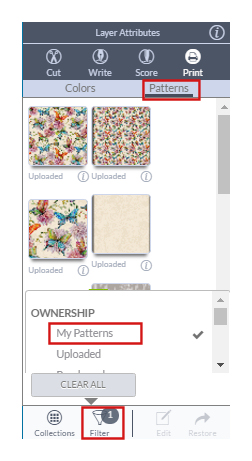
Click anywhere on the white area to close the panel.
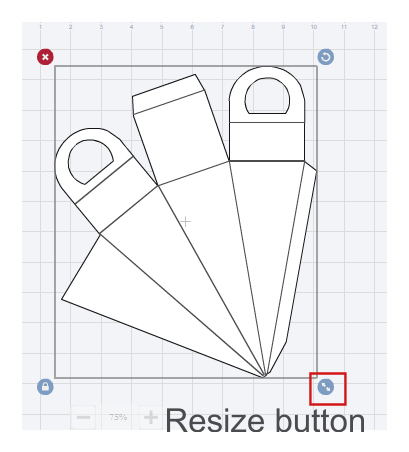
STEP 5 – Resize and Attach
Move your printable into the cutting area. Resize if necessary.
For Print Then Cut, 6 inches is the maximum width I use.
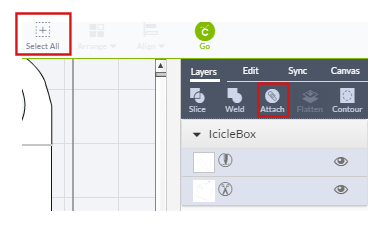
Select all objects that need to cut and score together. Click Attach.
STEP 6 – Cut
Click the green C-Go button, then click Go.
Place material on the cutting mat. Keep the mat pushed firmly against the rollers, then press the flashing Load/Unload button.
For more SVG help:
How To Use SVG Printables in Cricut Explore Design Space