How to Use SVG Files in Cricut Design Space
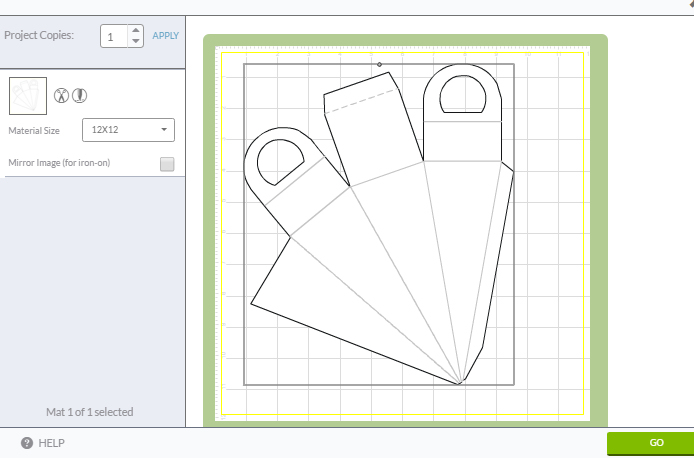
Cut and score on the same mat.
This tutorial walks you step by step through uploading SVG files into Cricut Design Space, resizing them, and preparing them to cut and score on the same mat.
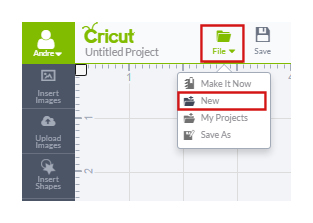
Step 1: Start a New Project
Open Cricut Design Space. Click File, then choose New.
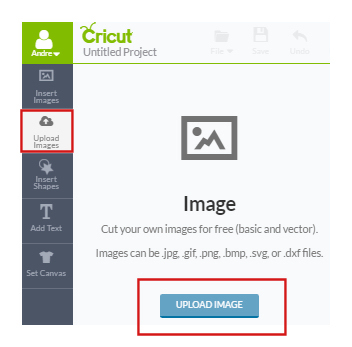
Step 2: Upload Your SVG File
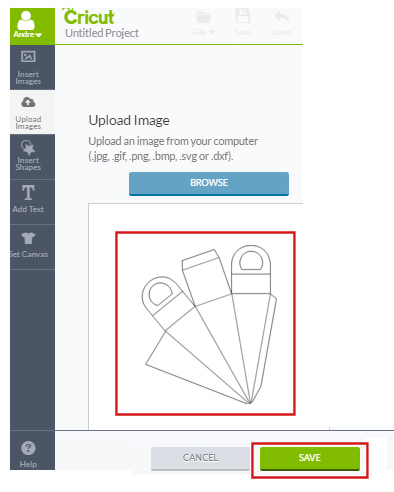
Click the Upload Image button.
Select Browse and choose your SVG file from your computer.
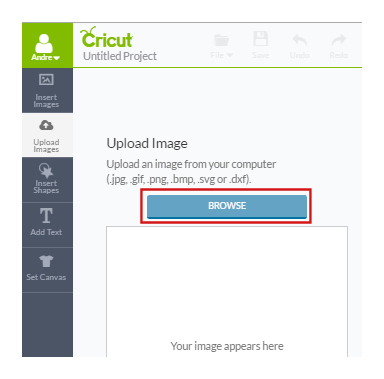
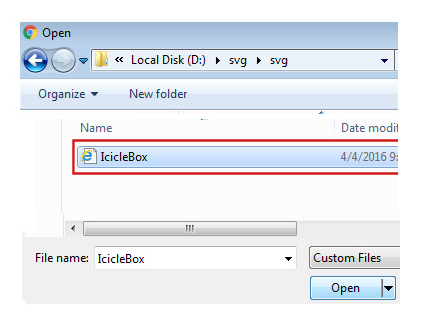
Navigate to the folder where your image files are stored. Select the file and click Open.
Your file will appear in the preview window. Click Save.
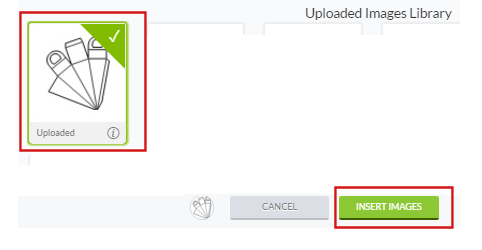
The file will now appear in your Image Library. Select it and click Insert Images.
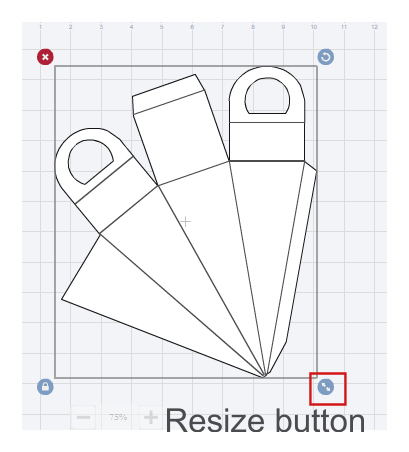
Step 3: Resize and Position
Move your design into the cutting area. Resize it if needed using the corner handles or by entering exact measurements.
How to Cut and Score on the Same Mat
Select your design.
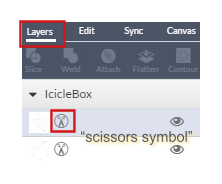
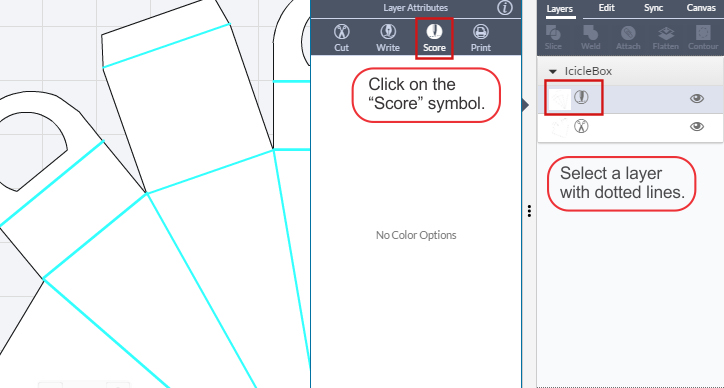
In the Layers panel, click the dotted line layer (shown with a scissors icon).
Change the line type to Score.
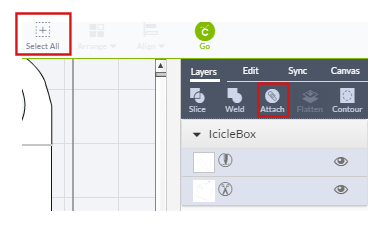
Select all layers and click Attach so everything cuts and scores in the correct position.
Final Step: Cut Your Design
Click the green Make It button.
Place your material on the cutting mat and load it into your Cricut machine. Press the flashing Load/Unload button.