Filling Printables with Colors or Patterns in Paint Shop Pro
This step-by-step tutorial shows you how to use the Magic Wand Tool and the Flood Fill Tool in Paint Shop Pro to fill blank printable template areas with colors or patterns. We will use a standard candy bar wrapper template for demonstration.
For the purpose of this tutorial, we will be using both a standard closed-end wrapper and an open-end wrapper. You can download each wrapper below and practice along.
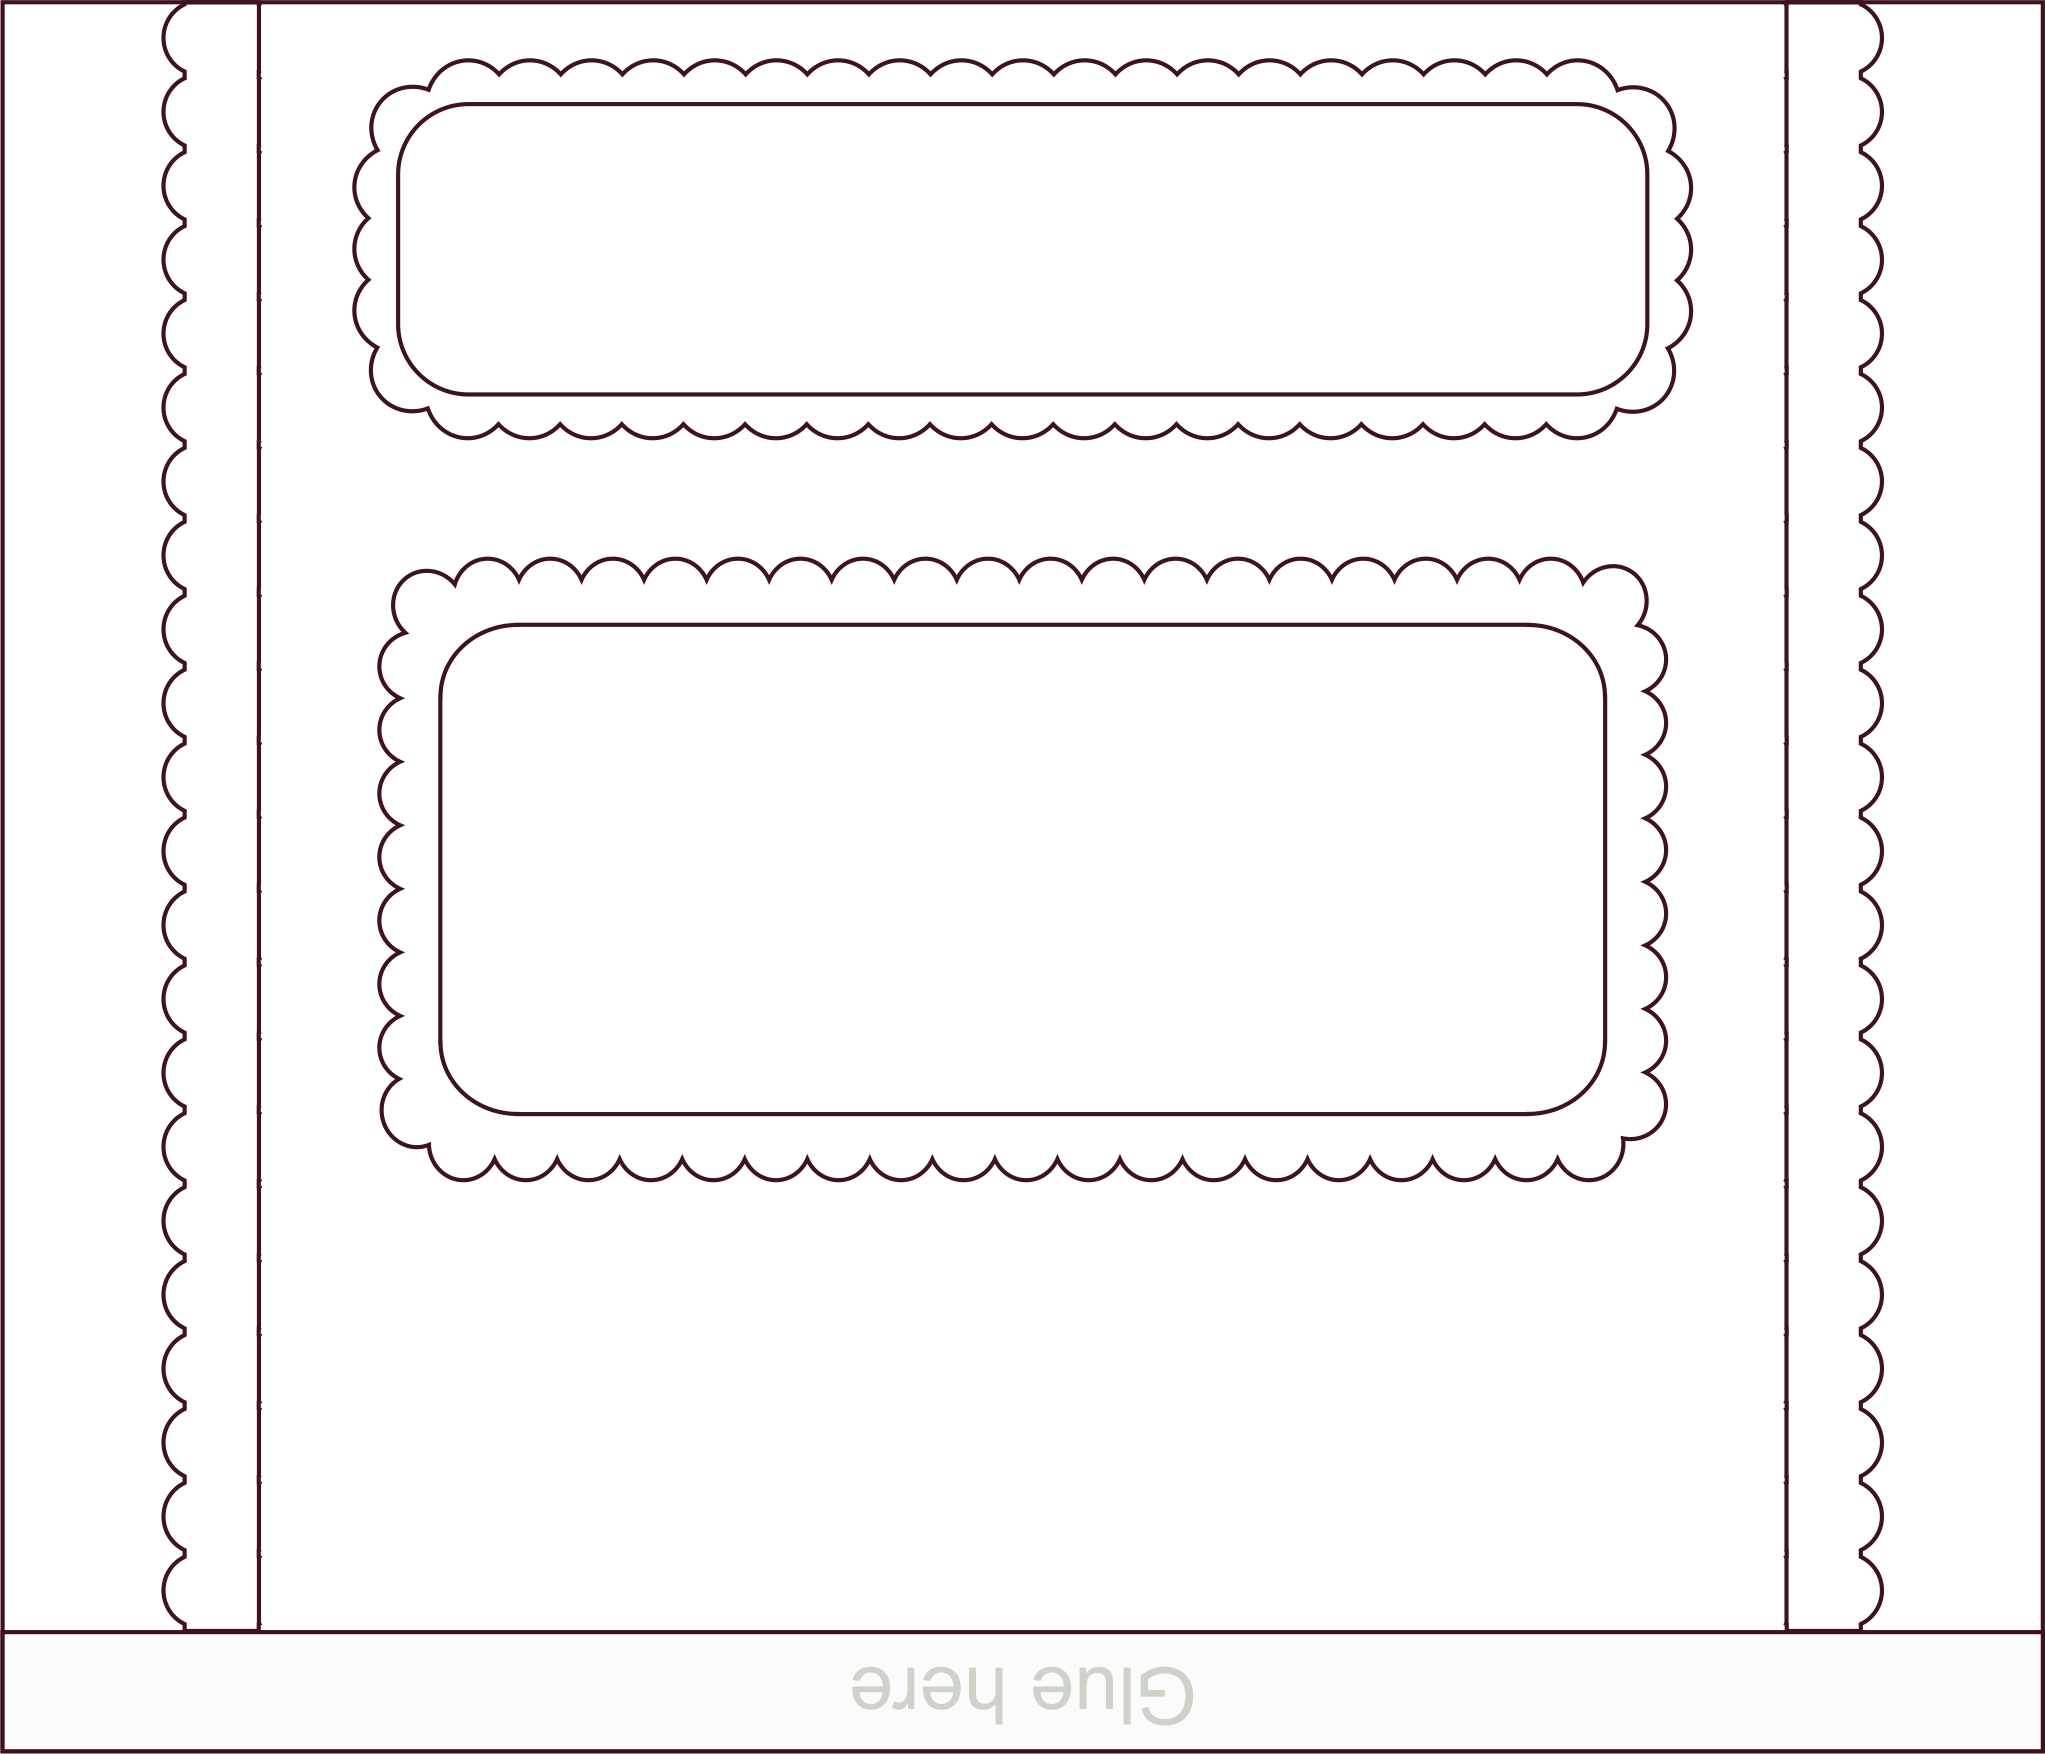
Standard Closed End Wrapper – Right-click to save.
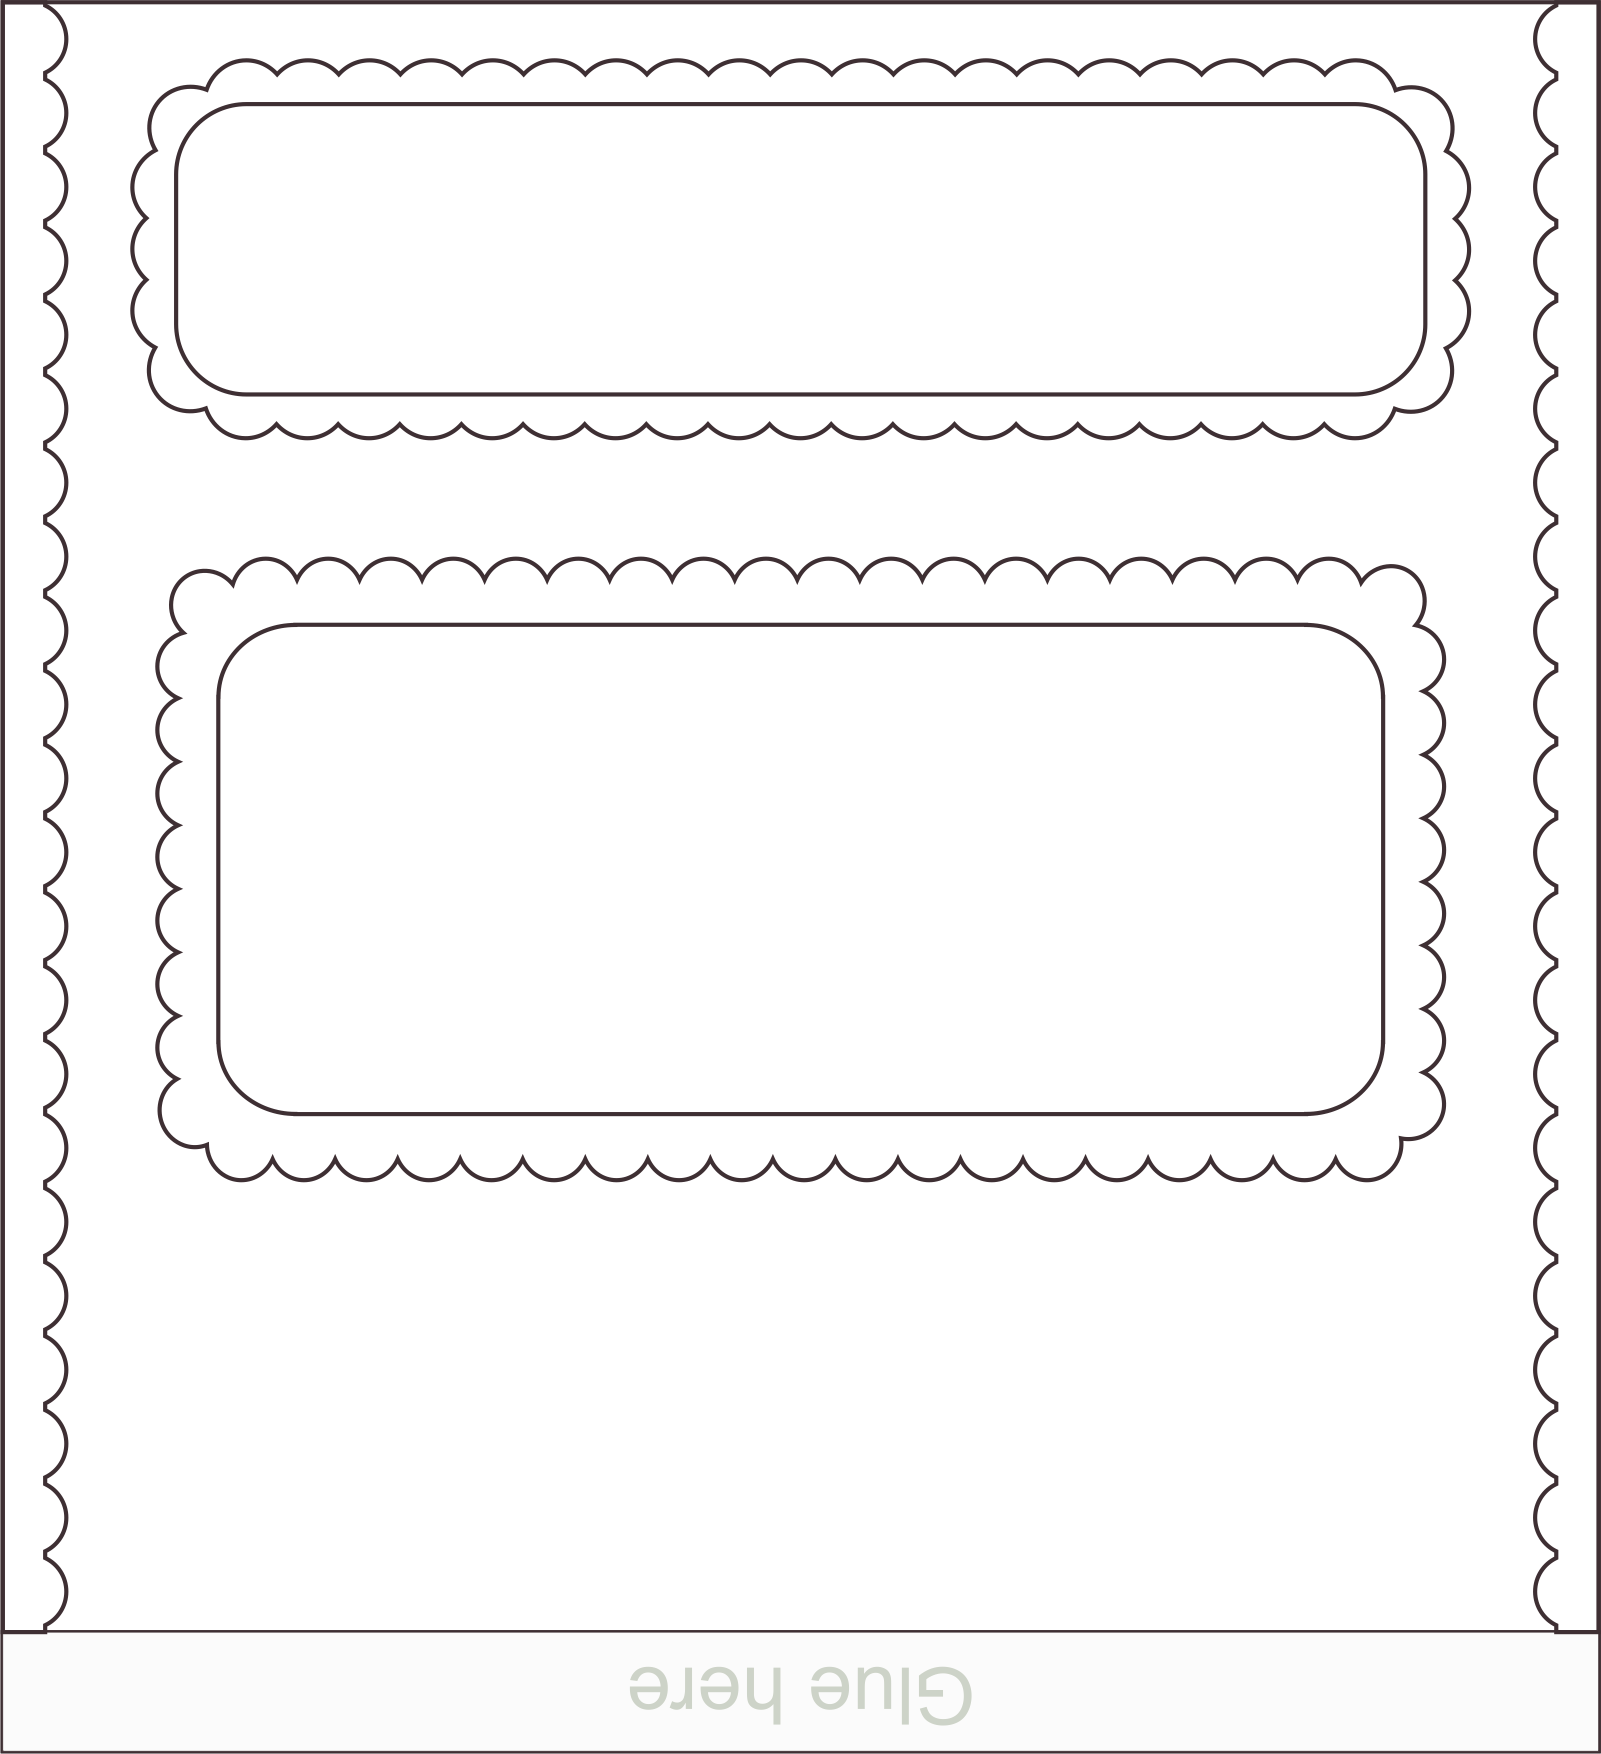
Standard Open End Wrapper – Right-click to save.
You can also download the Nutrition Fun Facts graphic here.
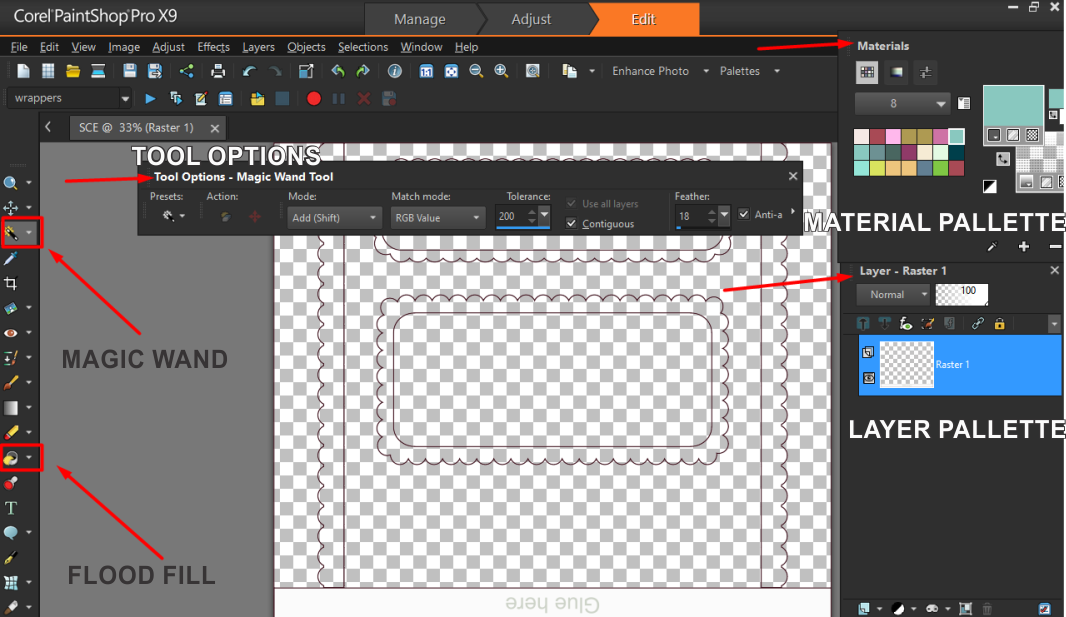
Tools and Palettes Needed
We will be working with:
- Magic Wand Tool
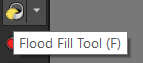
- Flood Fill Tool
- Tool Options Palette
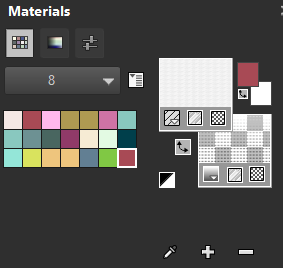
- Material Palette
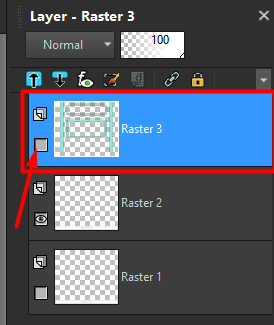
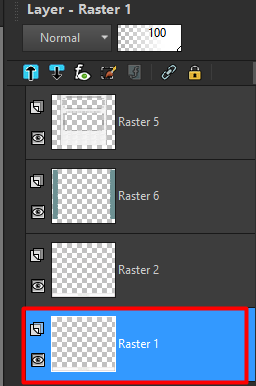
- Layer Palette
Click here for a screenshot showing where to find these palettes.
Step-by-Step Instructions
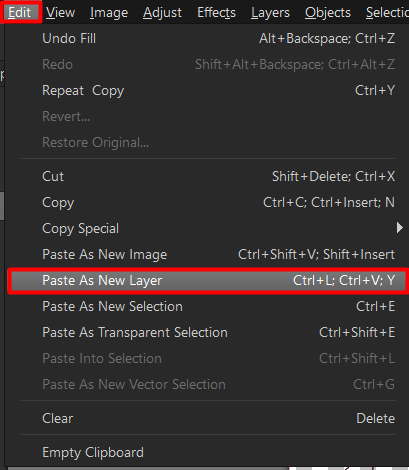
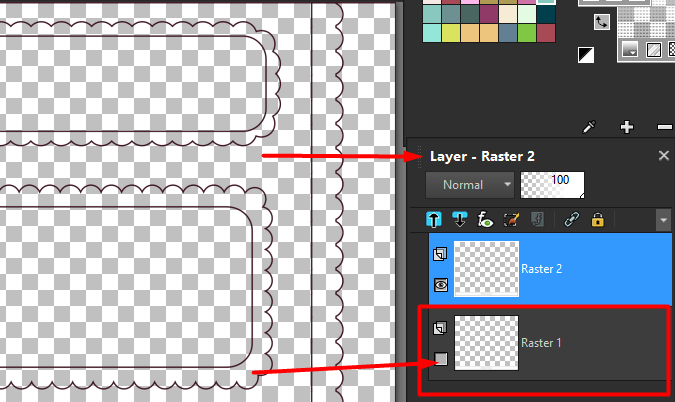
1. Copy the wrapper as a new layer. Go to Edit → Copy, then paste as a new layer.
2. On the Layer Palette, hide one of the wrappers.
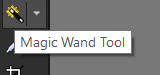
3. Click on the Magic Wand Tool.
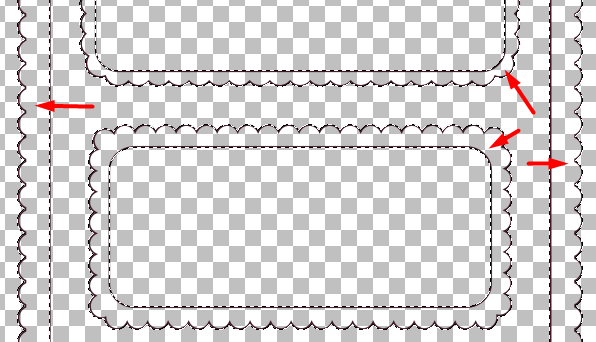
4. In Tool Options, set Feather to 6 and adjust other settings as shown below.

5. Click inside the area you want to color.
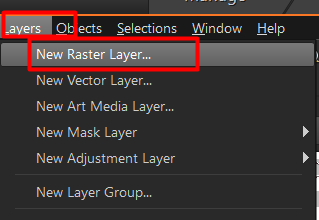
6. Go to Layers → New Raster Layer.
7. Select the Flood Fill Tool.
8. Choose a color from the Material Palette.
9. Flood fill the selected area. Repeat the flood fill several times (about 6 times) to eliminate white jagged edges.


10. Hide this layer in the Layer Palette.
11. Click on your active template layer and repeat steps 5–10 for each color area.
Final Steps
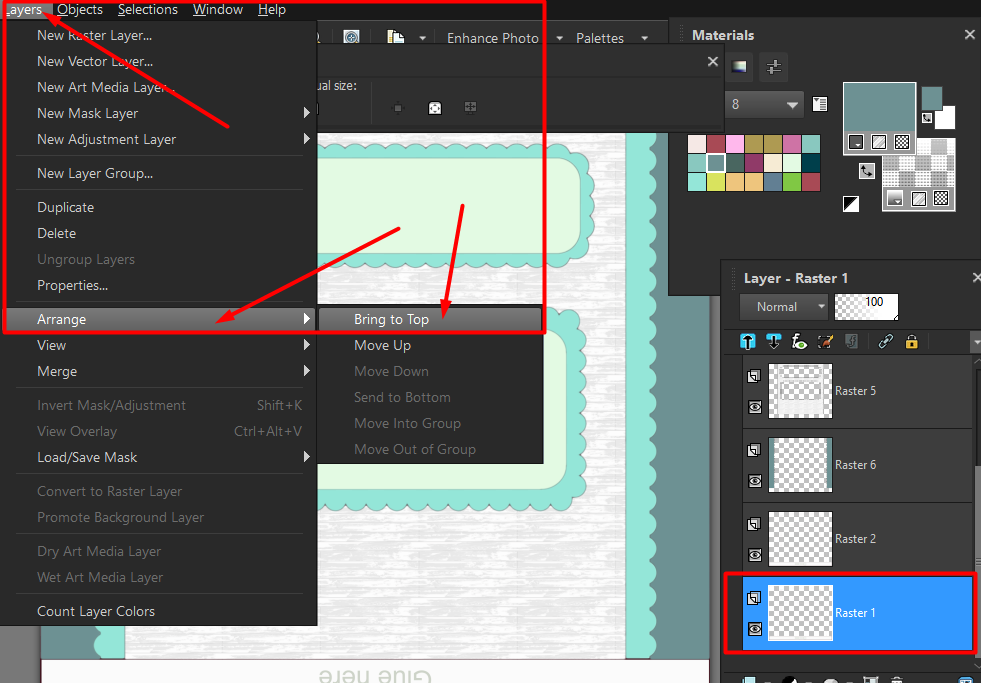
Once all layers are colored, unhide all layers including the template layer. Move the template layer to the top (Layers → Arrange → Bring to Top).
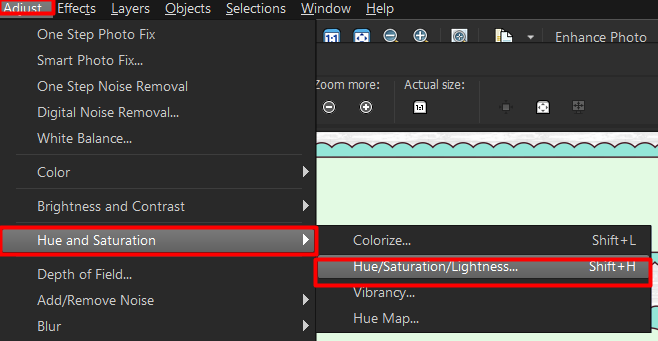
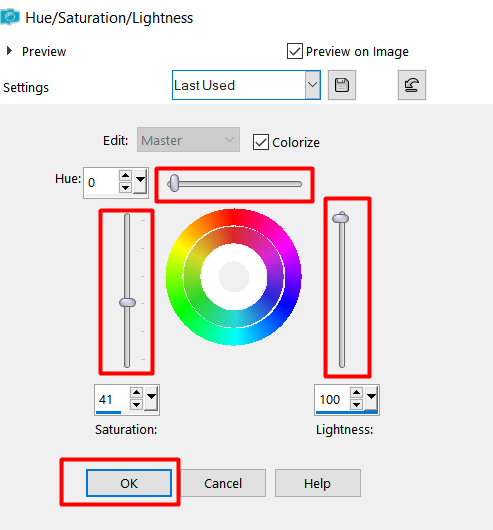
You can adjust the final color using Adjust → Hue and Saturation.
You may merge all layers and paste the finished wrapper onto a letter-size page for printing.